Whangamatā, Waikato tide times
Whangamatā, Waikato tide forecast — heights relative to MSL.
Tide chart for Whangamatā, Waikato
24-hour cosine-interpolated curve around the present moment. Heights relative to MSL. Predictions: Predictions: Open-Meteo Marine (MeteoFrance SMOC, 0.08° grid).
Sun, moon and conditions on Sun 21 Jun
Snapshot at build time — refreshes daily. Sea state from Open-Meteo Marine.
Highs and lows next 7 days
Every predicted high and low for the next week, with the daily tidal coefficient (0–120; higher = bigger swing, > 95 means stronger currents).
Other spots nearby
The three closest curated TideTurtle locations to Whangamatā, Waikato, measured by great-circle distance.

Today's solunar windows
Solunar tradition: major periods are the ≈3h windows around moon transit and opposition; minor are ≈2h around moonrise and moonset. Pair with the local tide stage and wind for the best read.
Cycle dates near Whangamatā, Waikato
Next spring tide on Sat 20 Jun (range 1.8m). Next neap on Thu 25 Jun.
Spring tides cluster around new and full moons (biggest swings). Neap tides land on quarter moons (smallest swings). See the spring tide and neap tide glossary entries for the why.
About tides at Whangamatā, Waikato
A short guide to the coastline at Whangamatā, Waikato — geography, sea state, and what the tide is actually doing under your feet.
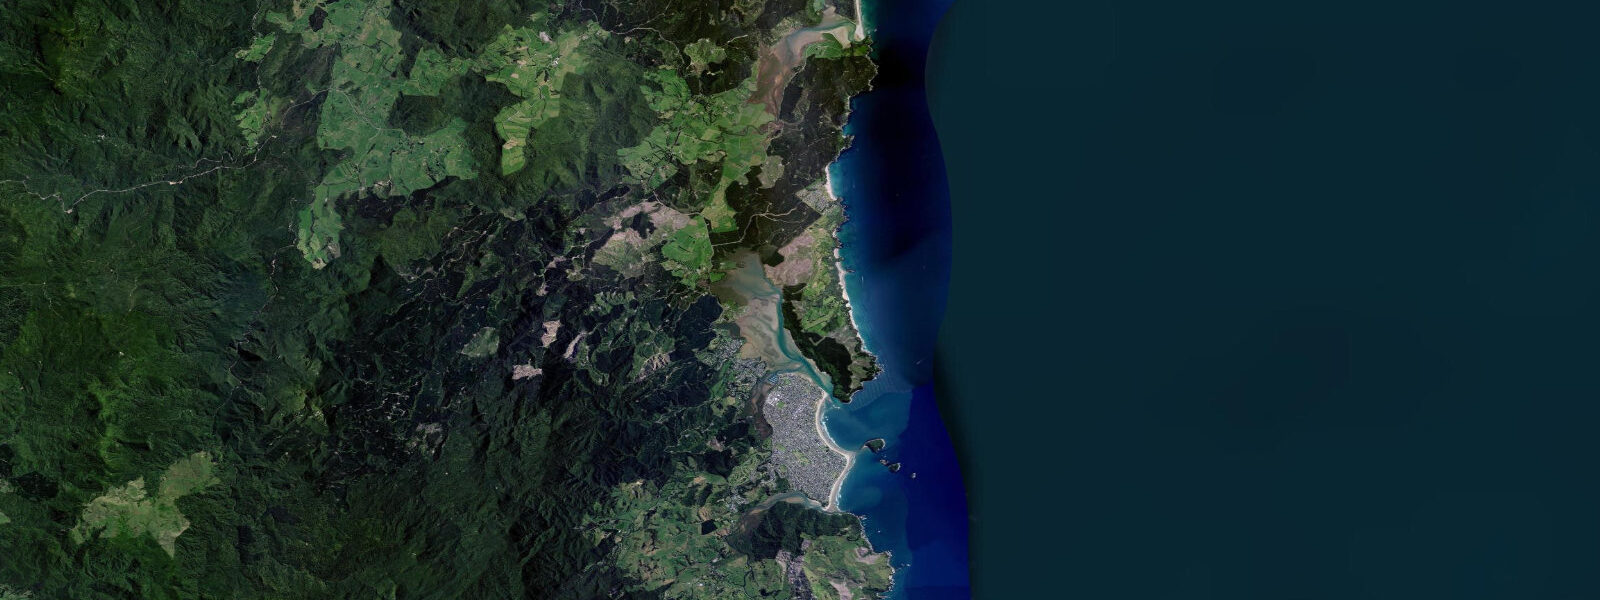
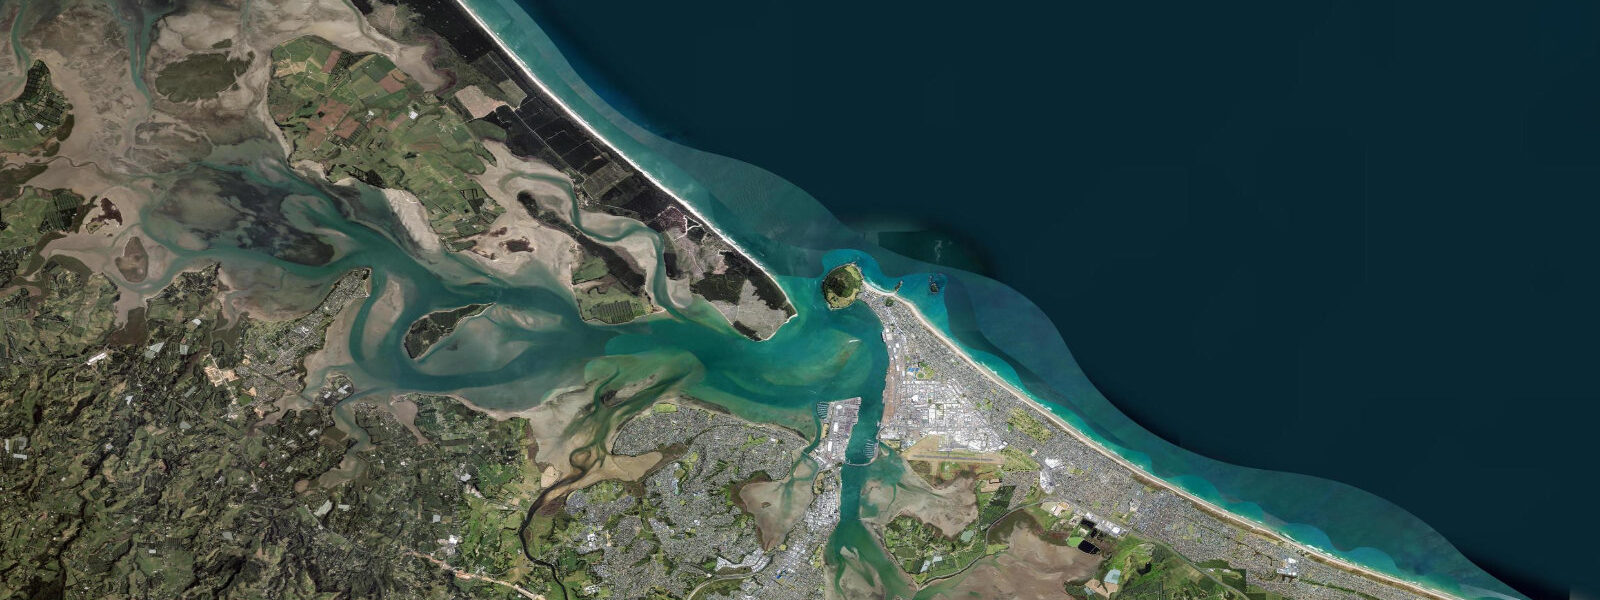
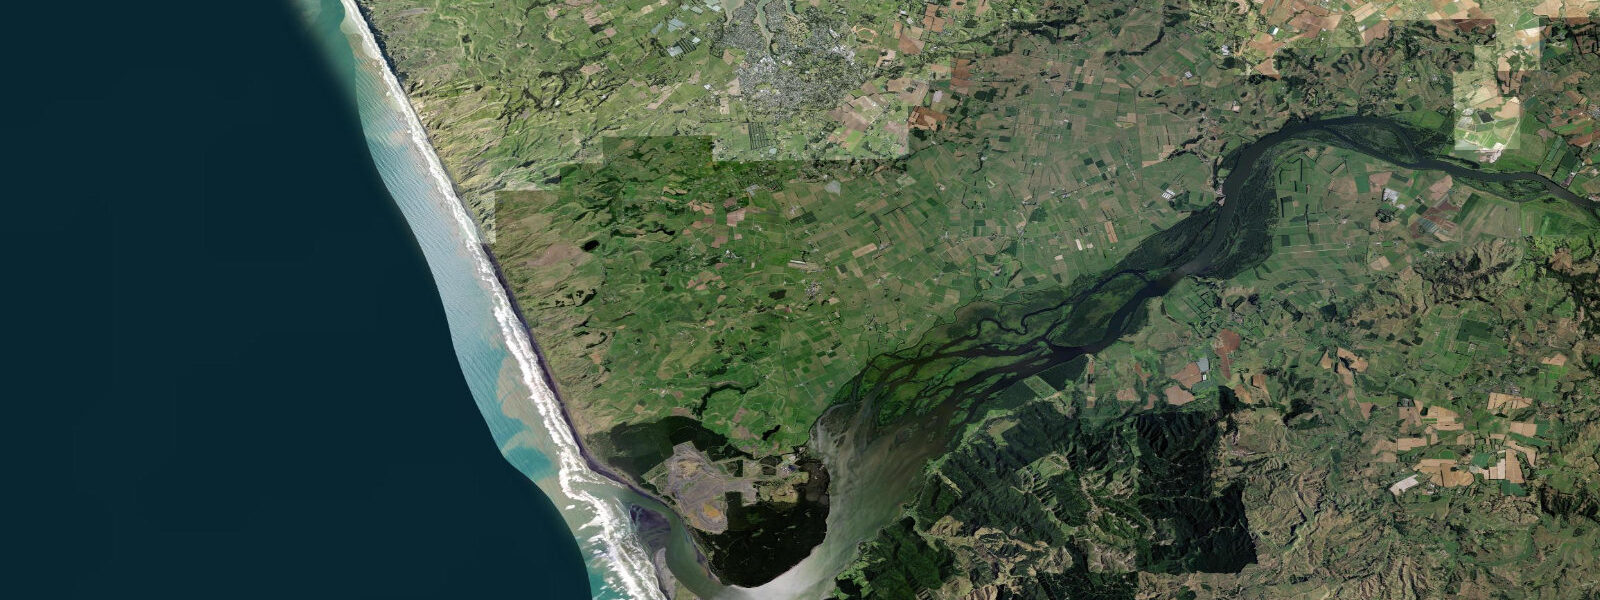
Whangamatā sits on the eastern Coromandel Peninsula, facing the Pacific 180 km southeast of Auckland. The town runs down to a long sandy beach backed by pohutukawa, with a harbour entrance at the southern end where the estuary meets the open sea across a sand bar. The Mercury Islands are visible to the northeast on clear days, 30 km offshore. The tidal range here is larger than on New Zealand's west coast — Pacific semidiurnal tides with diurnal inequality, mean spring range 2.5–3.5 m — and both the bar behaviour and the fishery inside the harbour depend directly on where in that range the water currently sits.
The Whangamatā Bar is the single feature that structures every decision made at this harbour entrance. The bar is a sand deposit that migrates seasonally, built by the interaction of wave energy from the northeast and the ebb current of the harbour drainage. Its depth changes with swell history: a large northeast swell event over several days builds the bar higher; a period of small swell allows erosion and shallowing in different zones. At low spring tide — chart datum minus perhaps 0.1 m on a big ebb — the shallowest section of the bar carries 0.8–1.5 m of water. At high spring tide, that same crossing carries 3.0–4.0 m. The difference between these two states is the difference between a safe crossing for a 4.5 m trailer boat and one that produces breaking waves across the channel.
Local skippers time bar crossings to within the top half of the tide, preferably within two hours of high water. The exact timing depends on the swell running on the day: with 1.0 m sea conditions a mid-tide crossing is straightforward; with 2.0 m northeast swell the bar breaks across its full width at any state below half tide, and even experienced operators wait. The channel position — the deepest line through the bar — is known locally and does not correspond exactly to any marked transit. It shifts seasonally. Visitors who have not been through the Whangamatā Bar before are advised to follow a local boat on the first crossing or to ask at the boat ramp about the current channel position.
The Whangamatā Bar surf break forms when northeast swell hits the outer face of the bar. The wave quality depends on the combination of swell direction, swell period, and tidal stage. On a 1.5 m, 14-second northeast swell the bar produces clean, powerful peaks at mid to high tide; at low tide the wave pitches more heavily over the shallowing sand, making it a different — and more consequential — experience. Surf schools operating out of Whangamatā include bar behaviour in their curriculum because the interaction between tide and bar shape is directly visible to students observing the break from the beach.
Inside the harbour, behind the bar, the estuary opens into a protected waterway that functions as one of the Coromandel's better snapper fisheries. On an incoming tide, baitfish — piper, herrings, small mullet — are pushed through the bar and into the calmer harbour water by the flood current. Snapper follow. The best fishing tends to fall in the two-hour window on either side of high water, when the snapper are inside the harbour and the water is clear enough (less turbidity than at peak flood) for them to feed actively. Kahawai work the bar itself on the incoming tide, intercepting baitfish at the constriction — a 28 g metal lure cast across the current line on the flood can produce fish quickly.
Orokawa Bay is 8 km north of Whangamatā, accessible only on foot via the coastal reserve track. The walk in is 1.5–2 hours one way. The bay has a black sand beach backed by native bush and volcanic rock platforms that are exposed only at low water. The rock platforms carry dense beds of kina (sea urchin) and intertidal fish in the pools. Timing the approach to arrive at or just after low tide maximises the time on the exposed platform before the flood covers it again. A neap low tide gives more platform than a spring low at some sections because spring lows can drain faster and re-fill with less warning — but the overall exposure is greater on springs. The track from Whangamatā heads north along the coast; there is no road access to Orokawa Bay itself.
For beach families, Whangamatā Beach itself runs long and flat enough that the tidal range does not dramatically alter the usable sand width — even at high water there is beach above the swash, and at low water the sand extends well out, revealing shallower wading areas and exposing occasional shell beds. The northern end of the beach, away from the bar entrance, is the calmer swimming zone.
The Coromandel Peninsula backdrop — forested ridgeline running the length of the peninsula — is visible from the beach. Mercury Islands sit to the northeast, the nearest of them roughly 30 km offshore, visible as a dark silhouette on settled days.
Tide data for Whangamatā, Waikato comes from the Open-Meteo Marine API, a gridded model product. Timing accuracy is ±45 minutes, height accuracy ±0.3 m — usable for trip planning, not for navigation.
Tide questions about Whangamatā, Waikato
Quick answers to the most common questions about tide times, range, and water access at Whangamatā, Waikato.
What is the tidal range at Whangamatā and how does it affect the harbour bar crossing?
Spring tides at Whangamatā produce a range of 2.5–3.5 m. At low spring water, the shallowest section of the Whangamatā Bar carries 0.8–1.5 m — enough to ground a standard trailer boat. At high spring water the same crossing carries 3.0–4.0 m, which is safe for any vessel that would operate in the harbour. Most local skippers cross the bar within two hours of high tide to maximise depth under the keel and minimise the risk of breaking waves on the bar face. The bar's exact position and the depth of the channel line shift seasonally with swell history; a dry-spell winter bar is different from a post-cyclone summer bar. Always check the current channel position at the boat ramp before crossing for the first time.
How does the tide affect the surf break at Whangamatā Bar?
The Whangamatā Bar surf break forms when northeast swell refracts across the outer bar. Tidal stage directly shapes the wave. At high tide the water over the bar is deepest — waves jack up with some warning before breaking and tend to be longer-period, more forgiving peaks. At low tide the bar shallows to 0.8–1.5 m and waves pitch more heavily, hollowing out and closing out in a narrower section. The break is most consistent and the safest to learn on at mid to high tide with a 1.0–1.5 m northeast swell. A 2.0 m+ northeast swell at low tide produces a heavy, shore-dump-style wave at the bar that is not a learner's break. Surf schools here explicitly cover how tidal stage changes bar behaviour.
When is the best time to fish for snapper inside Whangamatā Harbour?
Snapper fishing inside Whangamatā Harbour peaks in the two hours on either side of high water. On the incoming tide, baitfish are pushed through the bar into the calmer harbour water, and snapper follow them in. At peak flood the turbidity rises as sediment is stirred by the strong current, which tends to slow the bite. As the current eases near high water and briefly on the early ebb, the water clears and snapper feed actively. Kahawai concentrate at the bar itself on the incoming tide — the constriction produces a bait-trap that kahawai work efficiently. A 28 g metal lure cast across the flood current line at the bar on the incoming tide is the standard approach.
What is the best tidal state to visit Orokawa Bay and how long does the walk take?
Orokawa Bay is 8 km north of Whangamatā, accessible only via the coastal reserve track — approximately 1.5–2 hours one way. The rock platforms at the southern end of the bay are exposed only at low tide. To maximise time on the platform (for kina observation, rock pool fish, and intertidal photography), plan your arrival at the bay to coincide with low water. Working backwards from that target: depart Whangamatā 1.5–2 hours before predicted low tide. A neap low gives a slower, more predictable re-flood; spring lows drain further but re-fill faster. The platforms carry kina, reef fish, and intertidal invertebrates. The return walk is the same track; allow extra time if you want to stay through the turning of the tide.
Are there risks for families swimming at Whangamatā Beach related to the tides?
Whangamatā Beach is a long, gently-sloping sand beach and is considered one of the more family-friendly beaches on the Coromandel east coast. The main tidal consideration is the bar entrance at the southern end of the beach — the current running through the bar at mid-tide can produce a channelled outflow that is not obvious from the beach surface. Families with young children should swim at the northern end of the beach, away from the bar entrance. The beach does not develop a strong shore break at high tide; even at high spring water there is dry sand above the swash. At low tide the sand extends well out and wading depth increases gradually — the bottom is flat enough that there is no sudden drop-off on the main beach.
7-day tide table — Whangamatā, Waikato
Heights relative to MSL. Predictions: Open-Meteo Marine (MeteoFrance SMOC, 0.08° grid) — heights relative to MSL (not chart datum / LAT). Model-derived.
| Day | Type | Time | Height |
|---|---|---|---|
| Sun 21 Jun | Low | 04:14 | -0.7m |
| High | 10:19 | 1.0m | |
| Low | 16:32 | -0.7m | |
| High | 22:50 | 1.1m | |
| Mon 22 Jun | Low | 05:09 | -0.6m |
| High | 11:17 | 0.9m | |
| Low | 17:24 | -0.6m | |
| High | 23:42 | 1.0m | |
| Tue 23 Jun | Low | 06:04 | -0.6m |
| High | 12:11 | 0.9m | |
| Low | 18:20 | -0.5m | |
| Wed 24 Jun | High | 00:33 | 1.0m |
| Low | 06:56 | -0.5m | |
| High | 13:10 | 0.9m | |
| Low | 19:12 | -0.3m | |
| Thu 25 Jun | High | 01:26 | 1.0m |
| Low | 07:47 | -0.4m | |
| High | 14:05 | 1.0m | |
| Low | 20:10 | -0.2m | |
| Fri 26 Jun | High | 02:18 | 1.0m |
| Low | 08:40 | -0.3m | |
| High | 15:02 | 1.0m | |
| Low | 21:04 | -0.1m | |
| Sat 27 Jun | High | 03:10 | 1.0m |
| Low | 09:34 | -0.2m |